
Table of Contents[Hide][Show]
It’s DAY 1 of the 30 Day Crafting Challenge! And we are going to kick things off with a fun, easy and practical project. Today, we are going to make a beautiful piece to store stuff in using a simple and plain cardboard box. I think it’s always a good idea to have extra storage, wouldn’t you agree?
So let’s make something that will help to aid your organization efforts!
Do you have a cardboard box hanging around? I have a lot of them, thanks to Amazon. And I never seem to have enough storage space. So I thought I would make a place to keep some of the extra pads of scrapbook paper I have been collecting. I’m a sucker for beautiful paper – especially when it’s on sale. I’ll find something to make with it all, eventually. But for now, I wanted to make something to hold everything.
So I found a box that would fit the paper pads easily, with a little extra space.
Next I found 2 shirts at Goodwill that were on sale. One was a white sweater and the other a gray t-shirt.
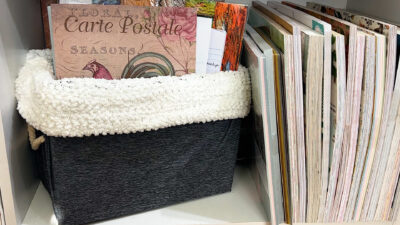
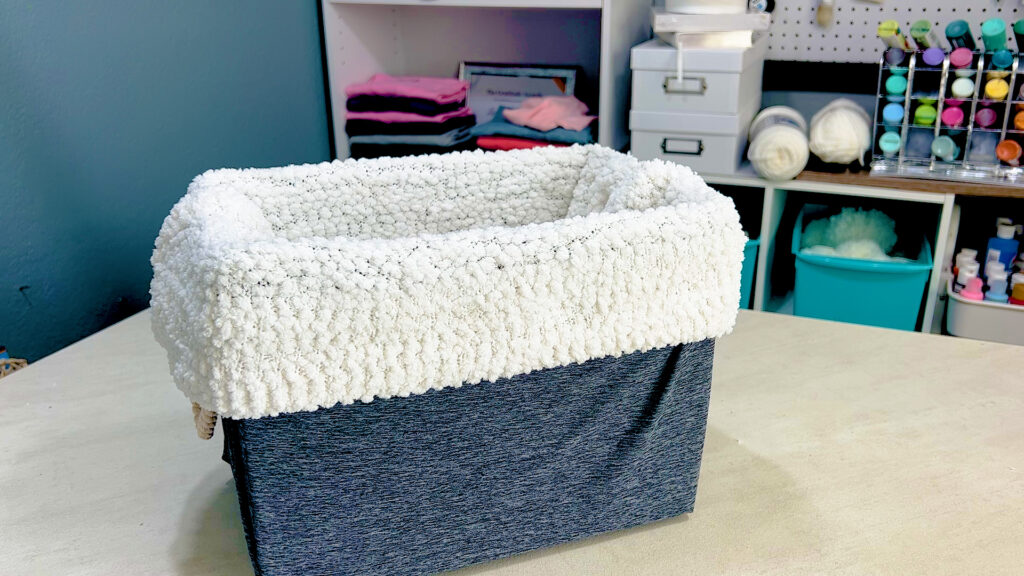
I really like the fluffy texture of the sweater, and it paired well with the gray t-shirt. And then I made a pretty storage box! It was a very simple project that didn’t take any time at all to make. And I thought this would be great for our first craft in the challenge.
DIY Storage Cardboard Box
Supplies Needed:
- 2 t-shirts (or like I did using one sweater, one t shirt)
- Large cardboard box
- Craft glue (or hot glue gun)
- Cotton Rope (2 pieces 12” to 14” long)
- Scissors
First, take the box and cut off the 4 folding pieces on the top of the box. You will be left with a box without a top. But don’t throw away the pieces you have cut off. You will be using these later on.
And you may want to check the fit of your t-shirt on the outside of your box. There needs to be enough material to cover the bottom of the box, and at least 2 “ or so on the inside top of the box. If you are happy with the fit of your t-shirt, move on to the next step.
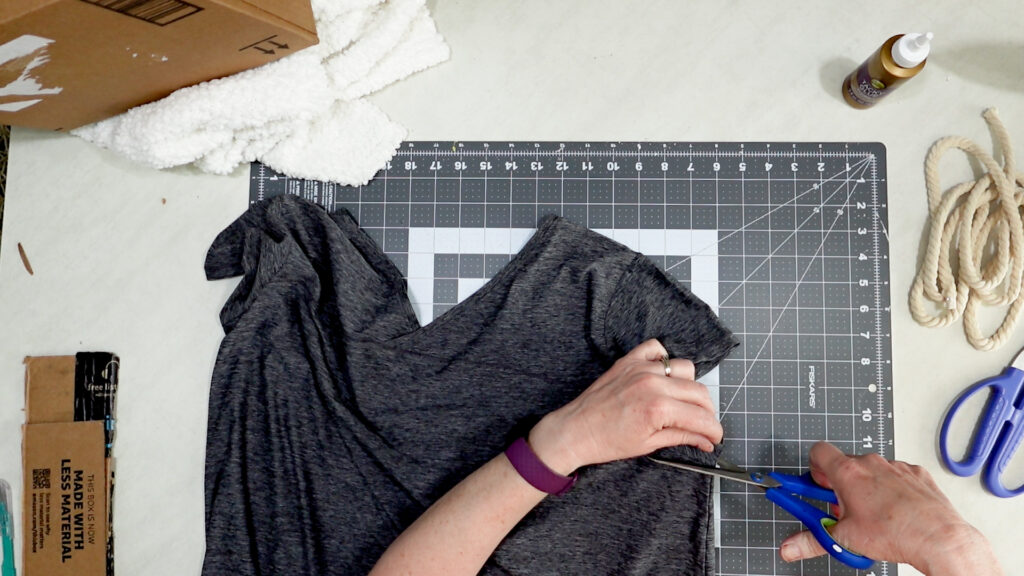
Now take the t-shirt that will be on the outside of the box, and cut the sleeves off following the seams, like this:
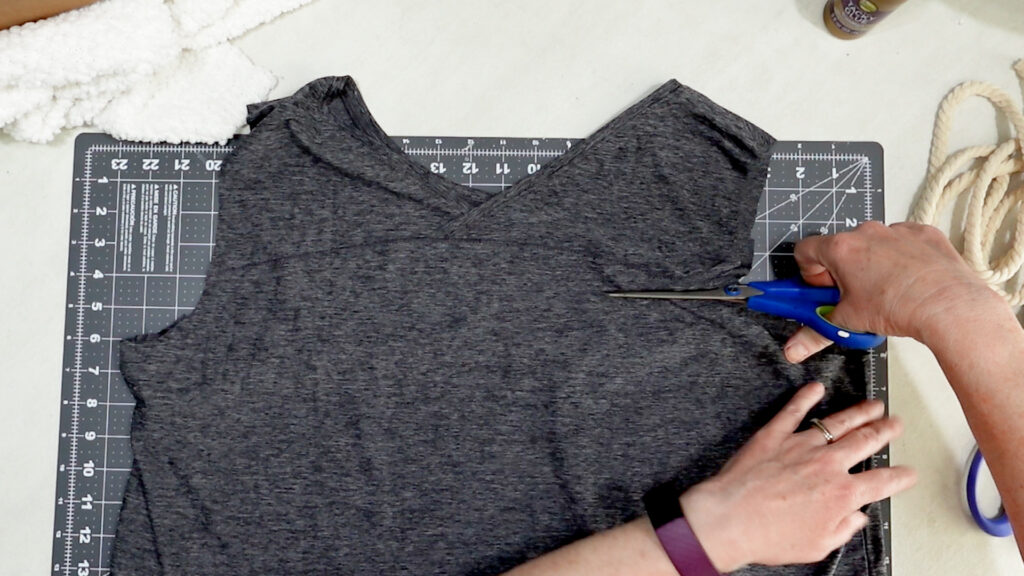
Then cut the top off the shirt. For mine, I did about 3” down from the top.
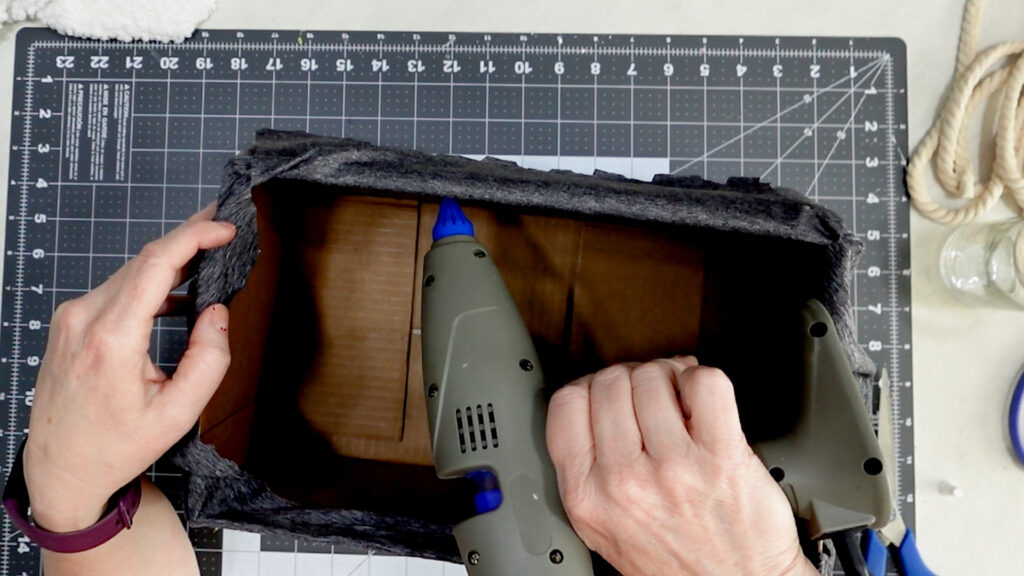
Then take the t-shirt and put it over the box. You want to make sure you have enough fabric to cover the bottom of the box. And then, secure the shirt to the bottom of the box using glue. Start by folding the shirt over the length of the box and secure it to the center using glue. Then fold the sides like you would a present you are wrapping and secure each side with glue.
Craft Something From Cardboard
Then flip the box over and secure the loose pieces of fabric to the inside of the box.
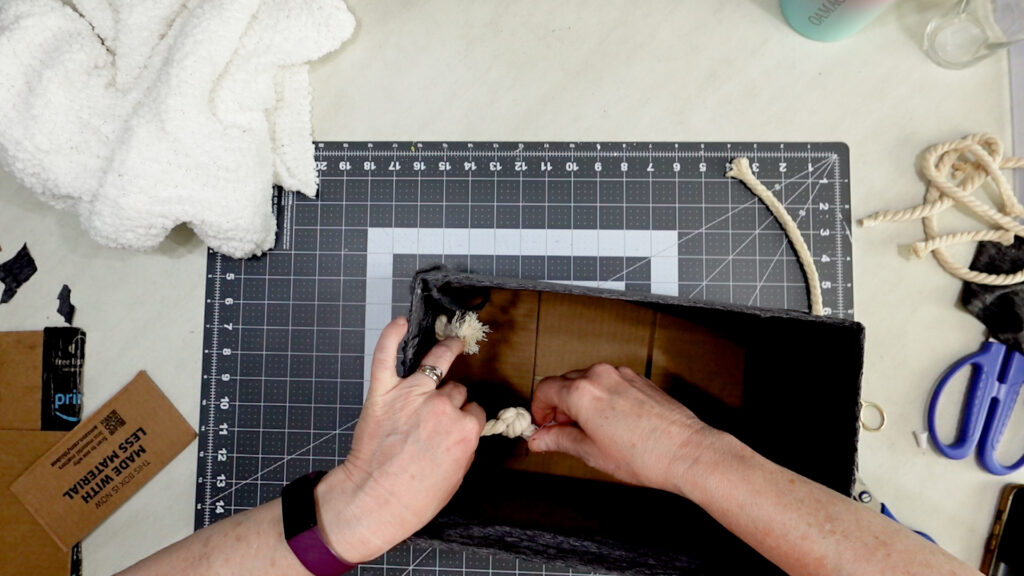
Now, once you have the t-shirt secured to the bottom and inside the top of the box, take your scissors and poke through on the sides of the box (through the t-shirt as well). You want 2 holes poked through on the 2 shorter sides of the box. If you want your measurements to be precise, you can measure how far you want your handles to be and keep them equal on both sides of your box. Then push the cotton rope through the holes and tie a knot at each end of the rope. This will give you the handles for your storage box.
Next, take the 2 long pieces from the top of the box that you cut off. And secure them in the center with tape. And then place this in the bottom of your box.
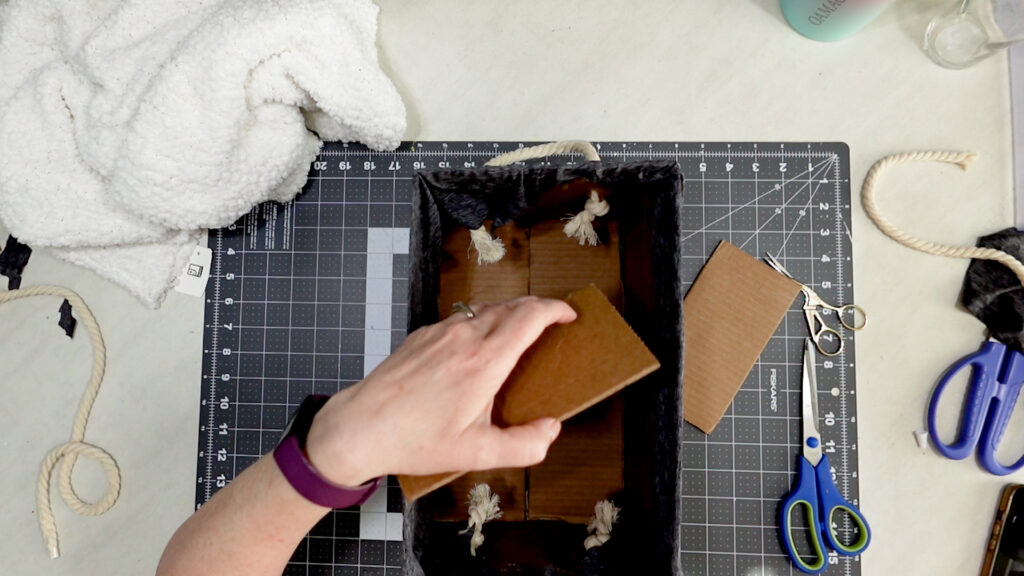
All right, the bottom portion of the box is done! Now we need to complete the top…
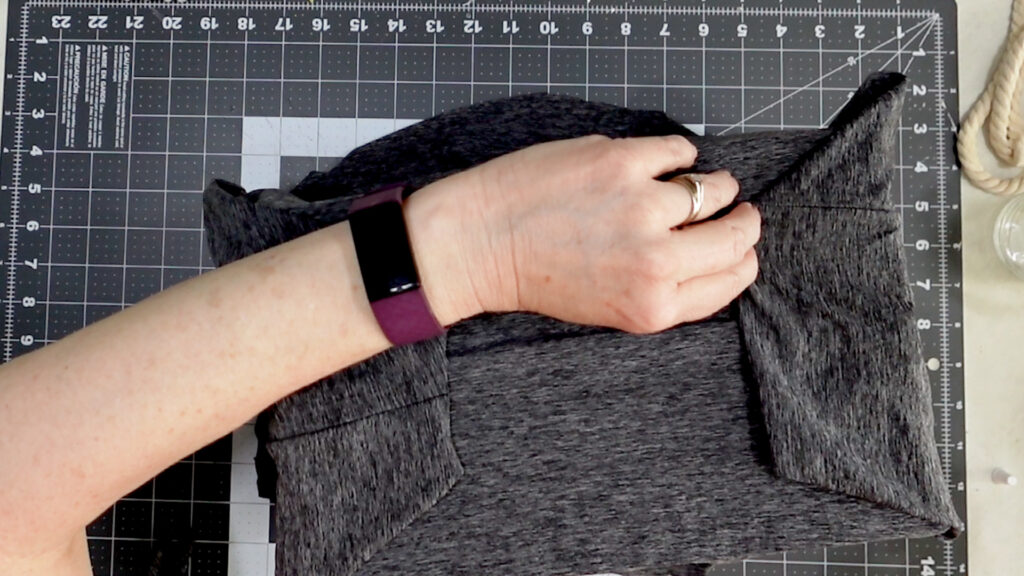
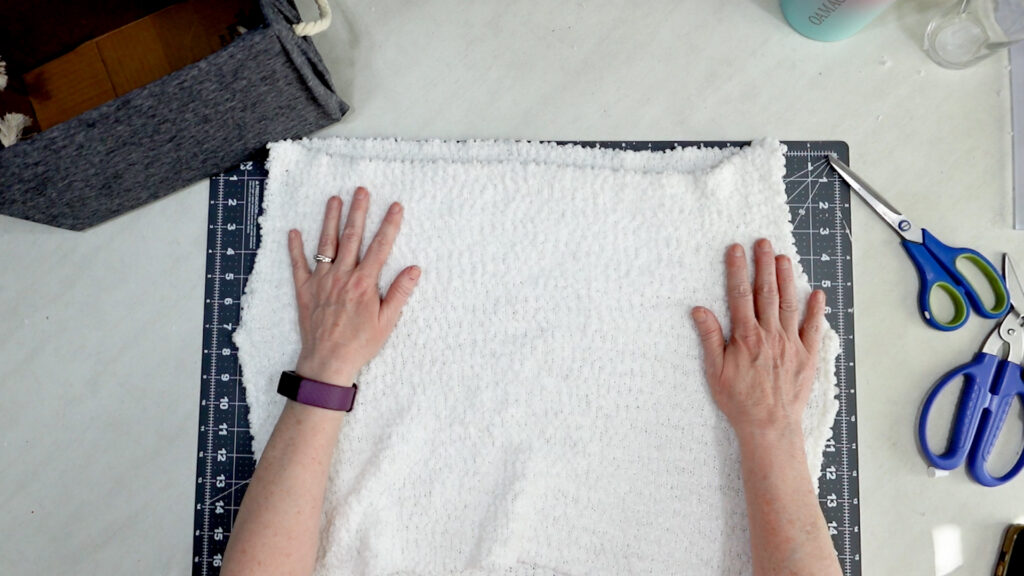
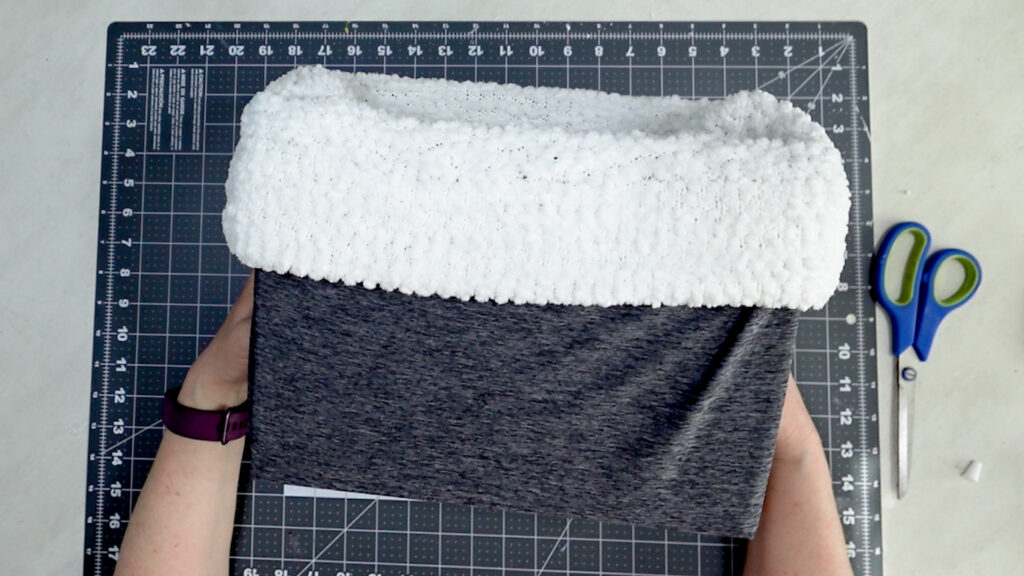
Take your second t-shirt, and lie it flat. Then cut off as high as you can right under the arms. Go straight across from one armpit to the other armpit. Then turn the shirt inside out and glue the end that you just cut together, like this:
Then flip the shirt around to the other end. This end should be the finished end of the shirt. And fold the shirt about 2” over and glue it down. Flip the shirt over, and repeat the process.
Now keeping the shirt inside out, just like you glued the sides down, put this t-shirt into your box. Bring the sides outside the top of your box, and that’s it!
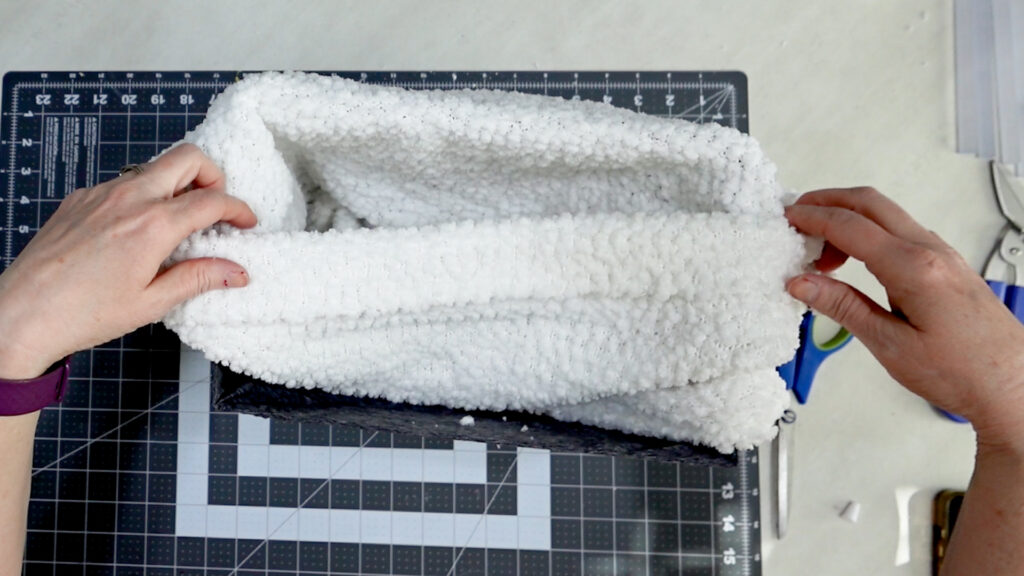
You just made a useful craft that you can store stuff in!
DIY Storage Cardboard Box
I know it is a simple project, but I know I sure had fun making it. Not only did I make something, but I made something useful, and it was easy to do. I love doing projects like this because it gives my confidence level a little boost and inspires me to wonder what else I could make.
That’s how I get inspired to do what I do. And sure, some projects are great, and others….well, not so much. But I keep going and keep making things.
I hope this first day of the craft challenge was fun and inspiring for you. And if you are more of a visual learner, here is a video to go along with today’s craft:
April 2nd Craft Hint
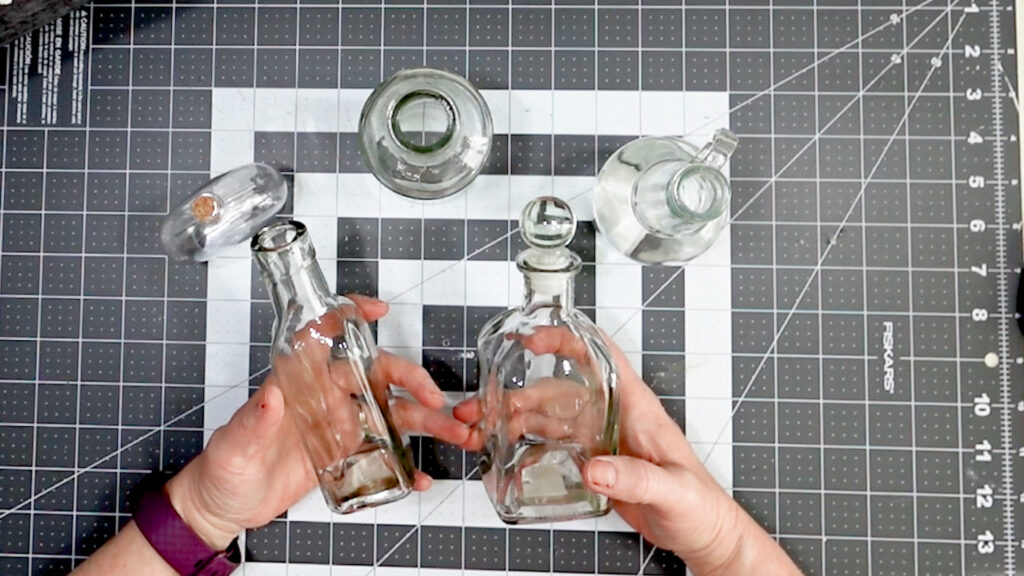
And if you found this craft challenge and want to get in on the fun, sign up for the complete 30-day challenge! Tomorrow I have a super fun craft for you using Dollar Tree trinket vases and spray paint. We will be making some sea glass inspired items to incorporate into a beachy vignette!
It’s going to be a lot of fun! So be sure to come back tomorrow, and don’t forget to check out the videos too! And if you would be so kind as to subscribe to my YouTube channel – it would make my day!
Happy Crafting!
Discover more from True Whimsy
Subscribe to get the latest posts sent to your email.
 Farmhouse Style Sea Glass DIY- Day 2 of Craft Challenge
Leave a Reply